
More information about best practices for editing digital images
Read more about best practices for editing digital images—keeping masters, light non-destructive edits, layers, and choosing the right export in PictorX.
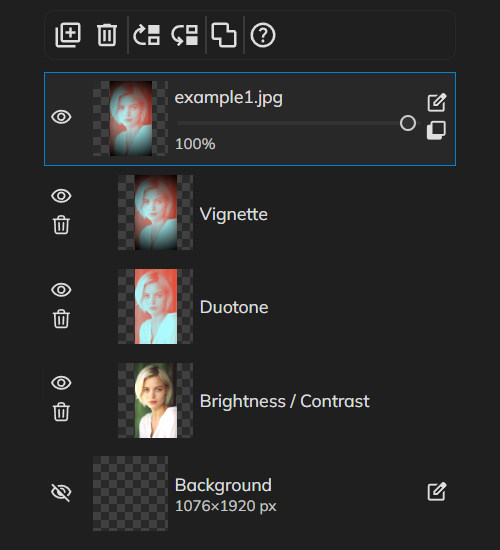
Start from a master and keep your originals
Never overwrite the only copy of a photo. Keep a master—RAW, original JPEG/PNG, or an untouched project file—and edit duplicates or a PictorX project. If something goes wrong, you can return to a clean source. Rename exports clearly (final, web, print) so you do not confuse drafts with published files. Storage is cheaper than reshooting or recovering a crushed JPEG.
Prefer non-destructive edits, undo, and layers
Bake changes into pixels only when you must. Brightness, contrast, hue, and similar adjustments are easier to revisit when they stay flexible—use undo history and separate layers so you can dial an effect back without rebuilding the whole image. In PictorX, treat adjustments and overlays as reversible steps when the tool allows it. Flatten late, not early.
Set resolution, crop, and framing before heavy work
Decide output size and aspect ratio early. Crop and straighten so composition is settled before you spend time on color or retouch. Upscaling after aggressive crop can invent soft detail; downscaling a finished full-resolution edit wastes work you never needed. In PictorX, use crop and move/resize when you know the destination—social square, print sheet, or web hero—then refine tones on the pixels you will actually keep.
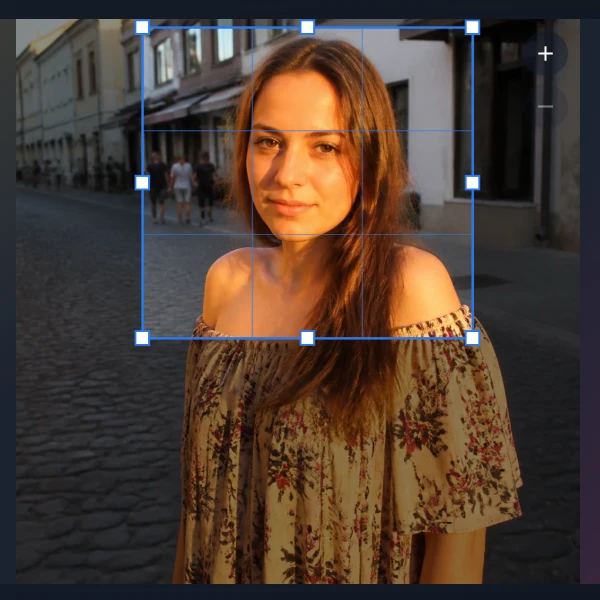
Adjust exposure and color thoughtfully
Lift shadows and tame highlights in small steps. Crushing blacks to pure zero or blowing whites to 255 removes recoverable texture and looks harsh on screens and print. Prefer gentle curves, levels, or vibrance over extreme saturation. Check skin tones and neutrals on a calibrated display when you can. In PictorX, revisit Adjust controls until the photo feels natural—not “edited.”
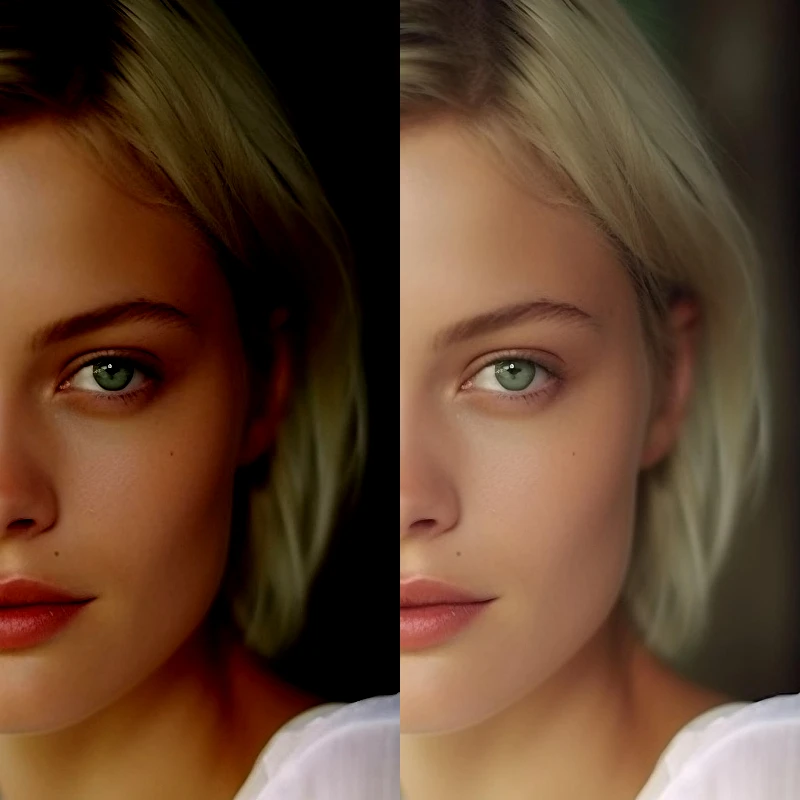
Retouch lightly—preserve texture
Clone and heal tools are for dust spots, small distractions, and careful fixes—not for sanding every pore into plastic skin. Work on a separate layer when possible, sample nearby texture, and zoom out often to check whether the edit still looks photographic. Over-smoothing ages poorly and reads as fake. In PictorX, stop when the viewer notices the subject—not your brushwork.
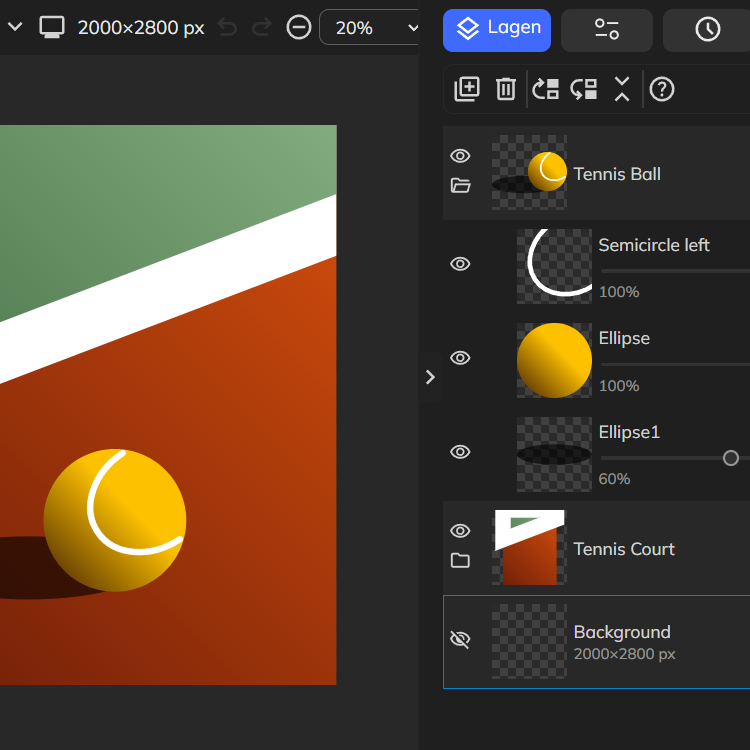
Organize with layers—names and order matter
Stack photo, adjustments, text, and graphics on separate layers so you can hide, reorder, or blend without starting over. Name layers for what they do (sky dodge, logo, heal dust). Keep the base photo near the bottom and finishing touches on top. Blend modes and opacity are easier to reason about when the stack is tidy. PictorX layer workflows reward this habit when you reopen a project days later.
Choose the right export format
Match the container to the job. Photographs for social and email often suit JPEG or lossy WebP; logos, stickers, and cutouts with transparency need PNG (or alpha WebP); sharp scalable marks belong in SVG. Avoid bouncing the same JPEG through edit–save–edit cycles—keep a lossless or project master and export once for publish. See also the companion page on image file formats for JPG vs PNG vs WebP detail.
Protect privacy, back up, and know when to stop
Prefer on-device editing when photos are sensitive—PictorX can keep work in the browser so you are not forced to upload every frame to a remote service. Back up masters and important projects to a second drive or cloud you control. Finally, stop editing when changes become taste, not clarity: extra sharpening, saturation, and micro-fixes often hurt more than they help. Ship the version that serves the story.
Frequently asked questions
Does re-saving a JPG damage image quality?
Yes—JPEG is lossy, so each edit–save cycle can add compression artifacts. Keep a master (original, lossless export, or PictorX project) and export a fresh JPEG only for the final share. Prefer PNG/WebP lossless or a project file while you still plan to change the image.
What does non-destructive editing mean?
It means your original pixels stay intact while adjustments, layers, or history let you change or reverse decisions later. Destructive edits rewrite pixels permanently (for example flattening a harsh filter into the photo). Use undo, separate layers, and project saves in PictorX so you can refine without rebuilding from scratch.
When should I crop a photo?
Crop early when you know the aspect ratio or need to remove distracting edges, straighten horizons, or tighten composition—before heavy color and retouch on pixels you will discard. Crop late only for tiny framing tweaks. Avoid extreme upscales after a tiny crop if you still need large prints or sharp web heroes.
What should I export from PictorX?
Export photos without transparency as high-quality JPEG or WebP; cutouts, stickers, and UI with alpha as PNG (or alpha WebP if the destination supports it); scalable logos as SVG when you work with vectors. Keep an editable project or lossless master whenever you expect more changes. Match format to destination—see the file formats guide for details.
Related tools
Non-destructive adjustments
Grade color like a pro without baking pixels. Use PictorX free in your browser with no software install required.
Adjust
Correct exposure and color from Image → Adjust. Use PictorX free in your browser with no software install required.
Crop tool
Trim a canvas to the part of an image or layout you want to keep. Use the free PictorX online editor in your browser.
More information about image file formats
JPG vs PNG vs WebP: compression, quality, transparency, browser support, and when to use each format for web and print in PictorX.
Layers & Blend Modes
Stack images, text, and shapes with full layer support. Use PictorX free in your browser with no software install required.
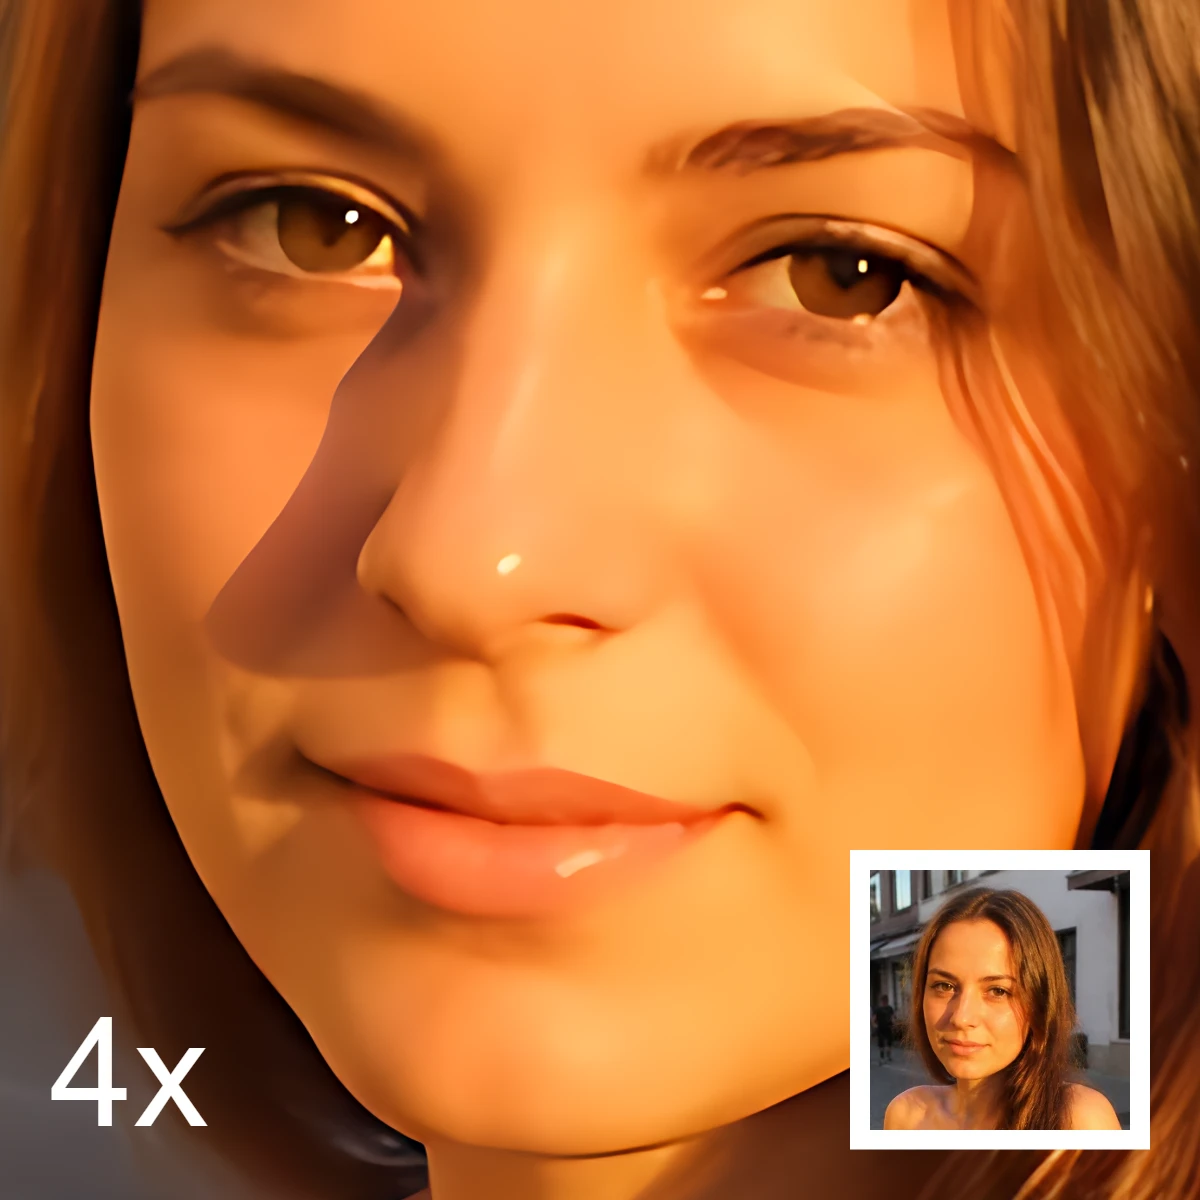
More information about AI image editing
What AI image editing is—cutouts, object removal, enhance, repair, and uncrop—how it differs from classic retouching, and how PictorX runs many tools on-device.
Ready to try it?
Open PictorX in your browser — no install, no credit card required to start.
Open the photo editor