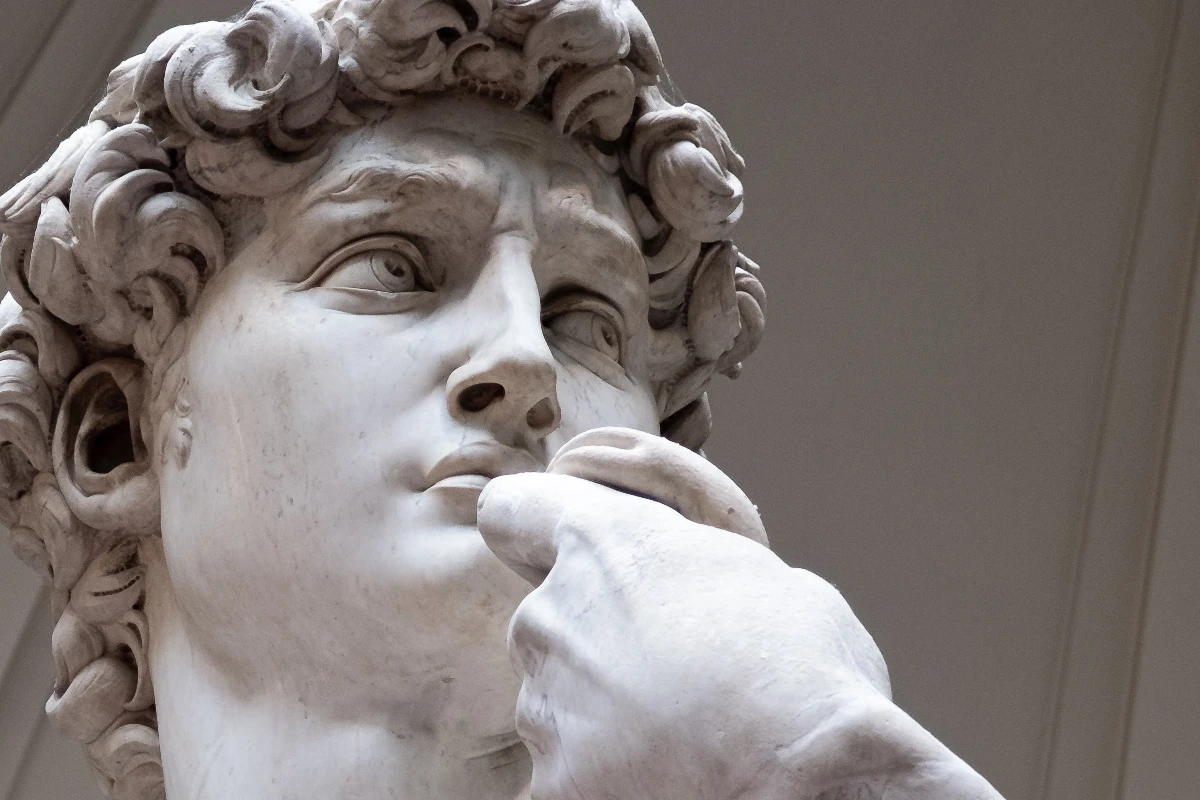
试试下方的风格化效果,或打开你自己的图片。
燃烧图像效果
Open a photo and apply 燃烧图像 in PictorX. This look is part of 风格化效果—adjust the settings on this page, then keep editing with layers, text, and other effects in the same workspace. 试试下方的风格化效果,或打开你自己的图片。
它是如何运作的
- Open this page and try 燃烧图像 on the sample, or open your own photo.
- Tune the 燃烧图像 settings, or switch to another look in 风格化效果.
- Save the result, or keep editing with layers, text, and other effects in PictorX.
What the 燃烧图像 effect does
燃烧图像 is one of the looks in PictorX 风格化效果. Apply it in your browser, then keep working in the same project—crop, type, or add another effect without starting over.
More looks in 风格化效果
This page opens 风格化效果 with 燃烧图像 already selected. Switch looks on the demo to compare styles, or open the full 风格化效果 page to browse every option in the set.
Looks in this set
常见问题
燃烧图像效果有什么作用?
它把照片变成火焰。边缘像升腾的火一样被向上拉出条纹,结果再经过柔化并扭成小漩涡,然后每个像素按火焰色阶重新着色:暗部变成黑色和深红,中间调变成红色和橙色,亮部变成黄色和白色。
如何在线让照片燃烧起来?
在本页打开你的照片,“燃烧图像”已经选中。点击“属性”设置“强度”(0 到 200),它控制火焰从边缘升起的高度。然后点击“另存为图片”。
“强度”应该设为多少?
为 0 时没有火焰条纹,只有火焰色彩和漩涡。约 20 到 60 会得到较短的火焰,主体仍可辨认;100 到 200 会得到吞没画面的长火焰。“强度”以像素为单位,所以在大尺寸照片上需要更高的值才能得到同样的效果。
哪些照片最适合火焰效果?
在深色背景前有清晰形状的照片:人脸、手、汽车、文字或标志。由于原来的颜色会被火焰色阶取代,只有亮度起作用:最亮的部分会变成最热的白色和黄色区域。
可以保留原来的颜色、只加火焰吗?
单靠这个效果不行,因为它总会给整张图像重新着色。点击“编辑”,在复制的图层上应用“燃烧图像”,并把该图层的混合模式设为“滤色”,这样火焰会提亮下面的原始照片。
相关工具
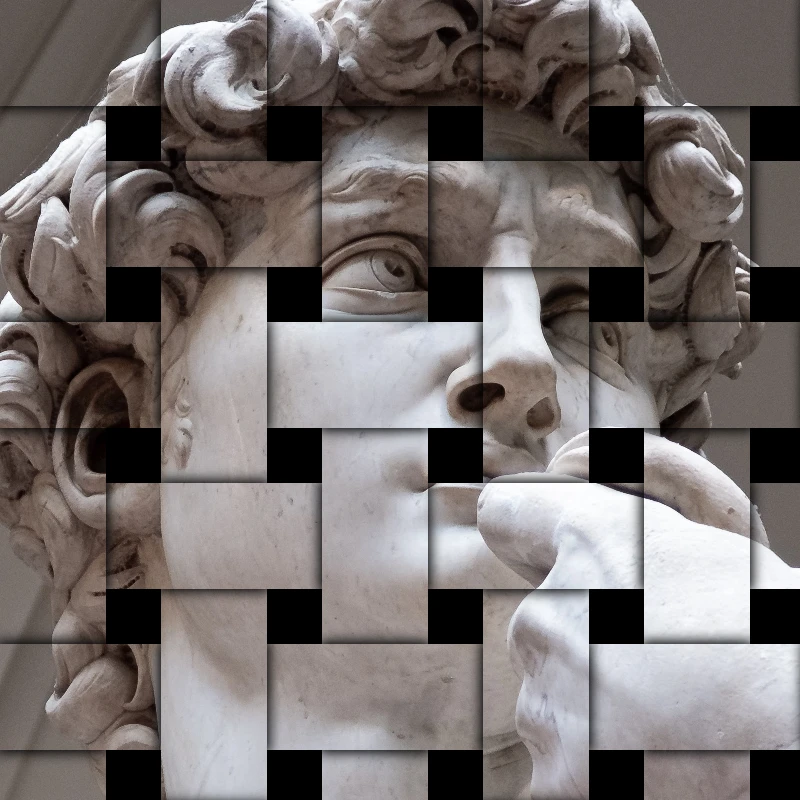
风格化效果
为照片添加破碎、故障、火焰、浮雕、晕影和其他工作室风格外观。
RGB 分离效果
在线为照片添加 RGB 分离效果:把红、绿、蓝通道错开,形成彩色边缘镶边。可选择通道、半径和角度。
图片碎裂效果
在线碎裂图片:把照片分割成从中心向外飞散的三角形碎片。可设置单元格大小、位移和角度,或使用方块。
浮雕 effect
Apply a 浮雕 effect to photos free in your browser. Open the 风格化效果 tools, tune the look, and keep editing in PictorX. No install.
照片雕刻效果
在线把照片变成雕版画:用交叉影线、平行线、圆形或波浪以双色绘制明暗。可设置阈值、线宽和线间距。
蓝图滤镜
在线把照片变成蓝图:轮廓变成蓝色纸上的浅色线条,可选加上技术网格。还可以更改背景颜色。
毛玻璃 effect
Apply a 毛玻璃 effect to photos free in your browser. Open the 风格化效果 tools, tune the look, and keep editing in PictorX. No install.
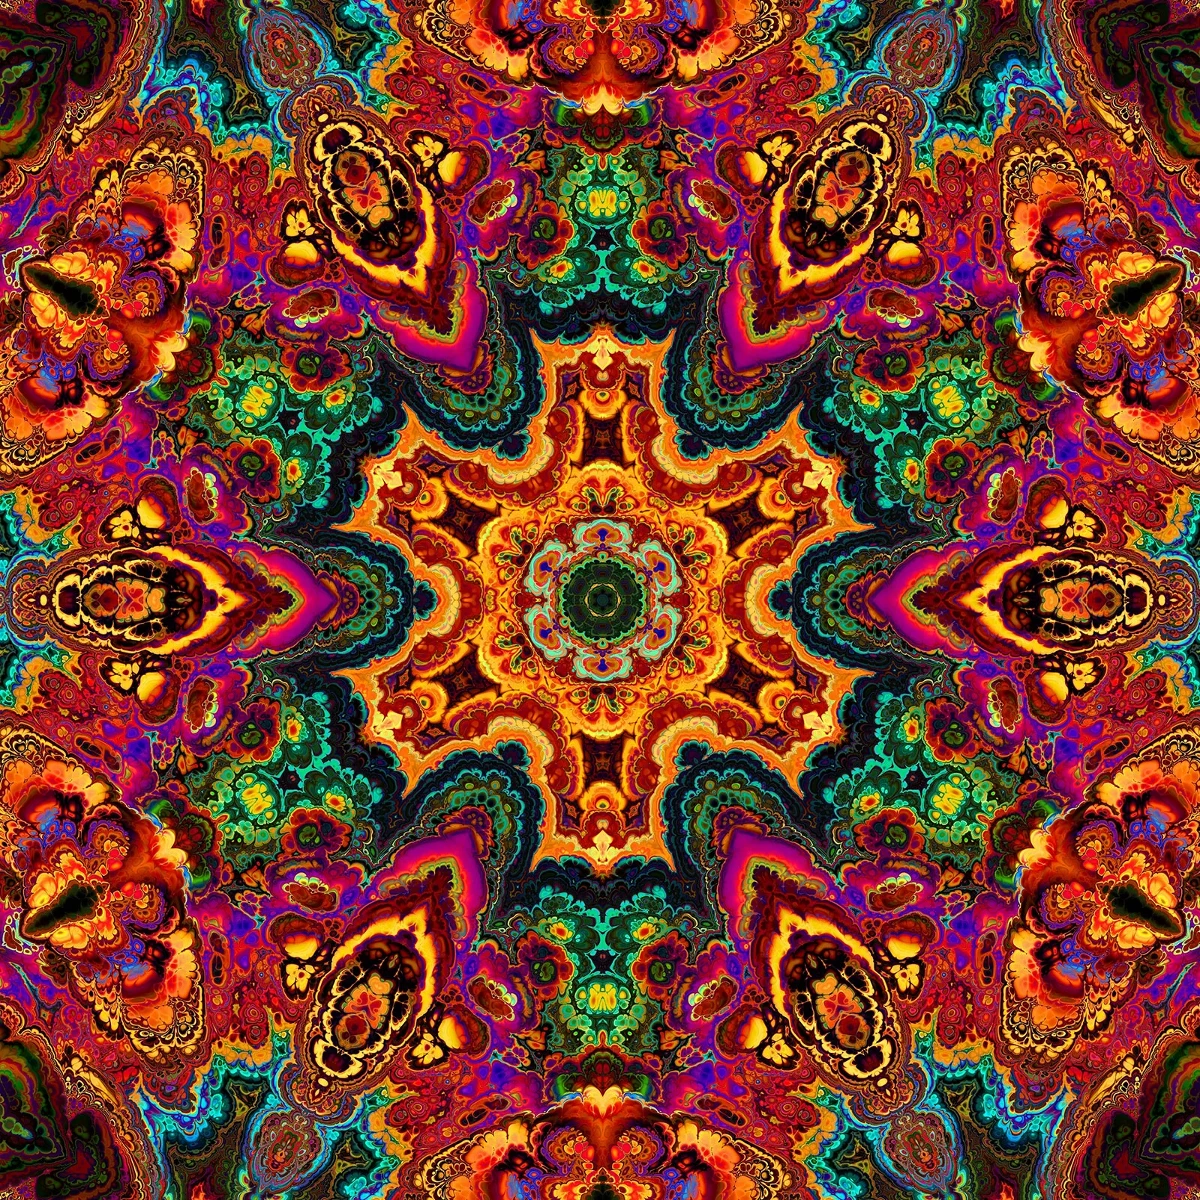
了解更多万花筒知识
万花筒如何运作?布儒斯特的发明及其希腊语名称、镜子如何形成图案、单元与远景万花筒,以及数字万花筒滤镜。
准备好尝试了吗?
在浏览器中打开 PictorX — 无需安装,无需信用卡即可启动。
前往编辑器