
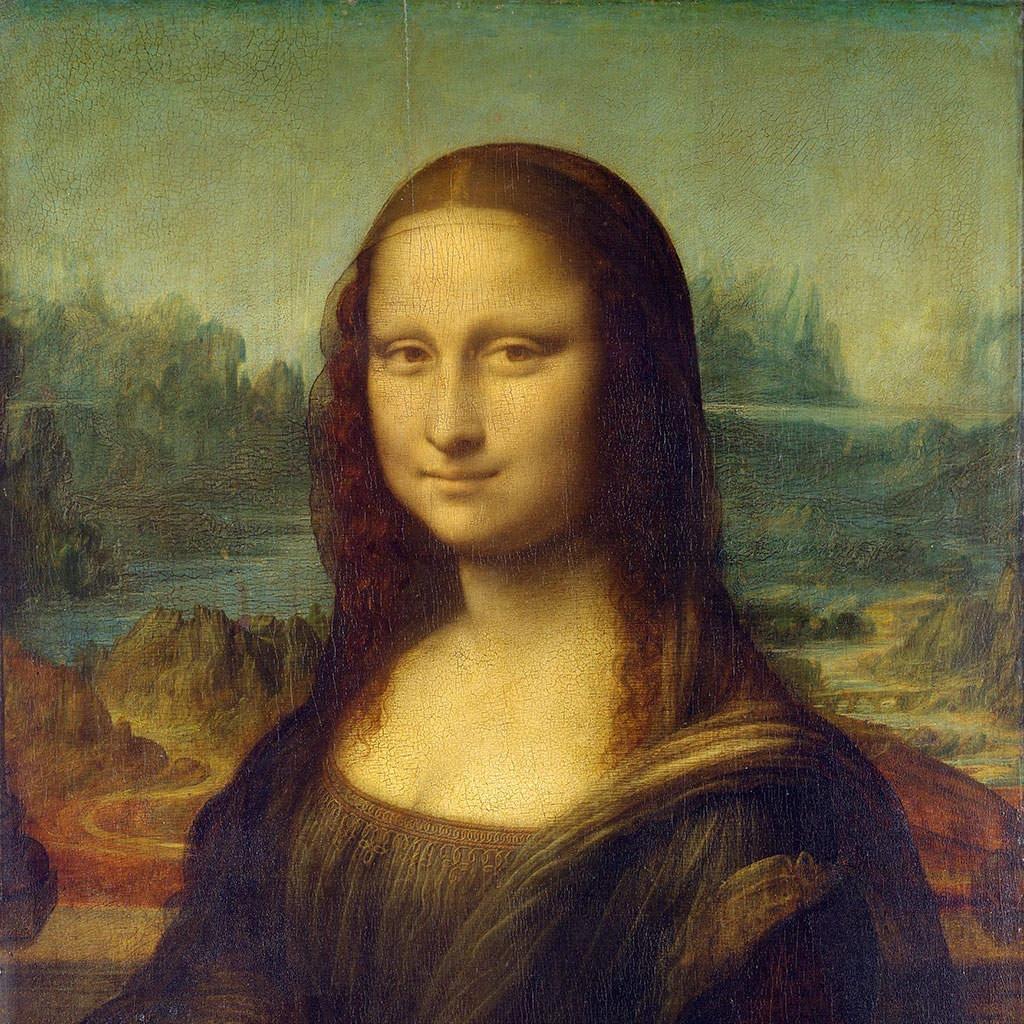
试试下方的像素化效果,或打开你自己的图片。
点彩效果
Open a photo and apply 点彩 in PictorX. This look is part of 像素化效果—adjust the settings on this page, then keep editing with layers, text, and other effects in the same workspace. 试试下方的像素化效果,或打开你自己的图片。
它是如何运作的
- Open this page and try 点彩 on the sample, or open your own photo.
- Tune the 点彩 settings, or switch to another look in 像素化效果.
- Save the result, or keep editing with layers, text, and other effects in PictorX.
What the 点彩 effect does
点彩 is one of the looks in PictorX 像素化效果. Apply it in your browser, then keep working in the same project—crop, type, or add another effect without starting over.
More looks in 像素化效果
This page opens 像素化效果 with 点彩 already selected. Switch looks on the demo to compare styles, or open the full 像素化效果 page to browse every option in the set.
Looks in this set
常见问题
点彩效果会对照片做什么?
它把照片分成小单元格,并用单元格平均颜色的圆点取代每个单元格。较暗的区域圆点更大,圆点也略有错位,所以结果看起来像纸上由彩色圆点组成的图画。
如何在线对图片进行点彩处理?
在本页打开你的照片,点击“属性”。“单元格大小”(1–50 px)设置圆点的间距和大小,“密度”和“对比度”改变圆点看起来有多实、多紧密。点击“另存为图片”。
可以更改圆点后面的背景吗?
可以。圆点默认位于白色上。在“背景”中你可以选择其他纯色、线性或径向渐变,选择“透明”得到只有圆点的 PNG,或选择“原始图像”把圆点放在照片上。
“点彩”和“点彩画”有什么区别?
“点彩”是一个简单的圆点滤镜:每个圆点都取其下方照片的颜色。“点彩画”滤镜则像修拉和西涅克那样作画,把每种颜色拆分为独立的暖色、冷色和互补色笔触,并提供绘画样式、色板和画布底色。
“单元格大小”应该设为多少?
3–6 px 会得到细腻的纹理,远看仍像照片。10–20 px 会得到清晰可见的圆点,适合海报或波普艺术风格;最大值 50 px 只剩下几个大圆。
相关工具
像素化效果
将照片变成马赛克瓷砖、六边形、水晶、低多边形艺术、半色调点和复古街机调色板。
照片马赛克效果
免费在线把照片变成马赛克:将“大小”设为 1–400 px,添加“网格”或“圆点”,也可以试试“六边形”“晶格化”和“低多边形艺术”。保存为 PNG。
六边形 effect
Apply a 六边形 effect to photos free in your browser. Open the 像素化效果 tools, tune the look, and keep editing in PictorX. No install.
晶格化效果
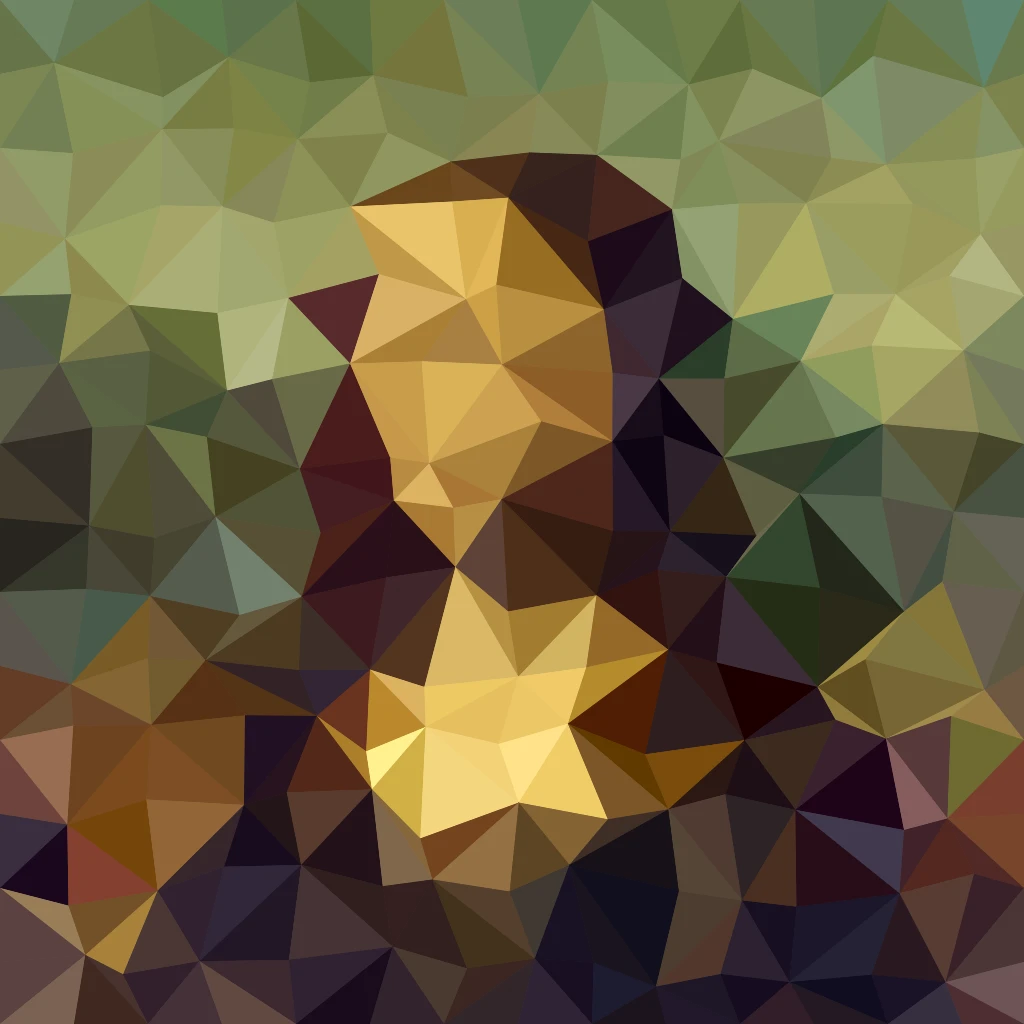
在线让照片呈现水晶般的切面效果。“晶格化”把照片重绘为平涂色三角形组成的网格。设置单元格大小并保存图片。
用照片制作低多边形艺术
在线把照片变成低多边形艺术:平涂色的三角形、矩形或多边形,可选加上边缘线。可设置单元格大小、抖动和形状。
蒙德里安马赛克 effect
Apply a 蒙德里安马赛克 effect to photos free in your browser. Open the 像素化效果 tools, tune the look, and keep editing in PictorX. No install.
彩色半调 effect
Apply a 彩色半调 effect to photos free in your browser. Open the 像素化效果 tools, tune the look, and keep editing in PictorX. No install.
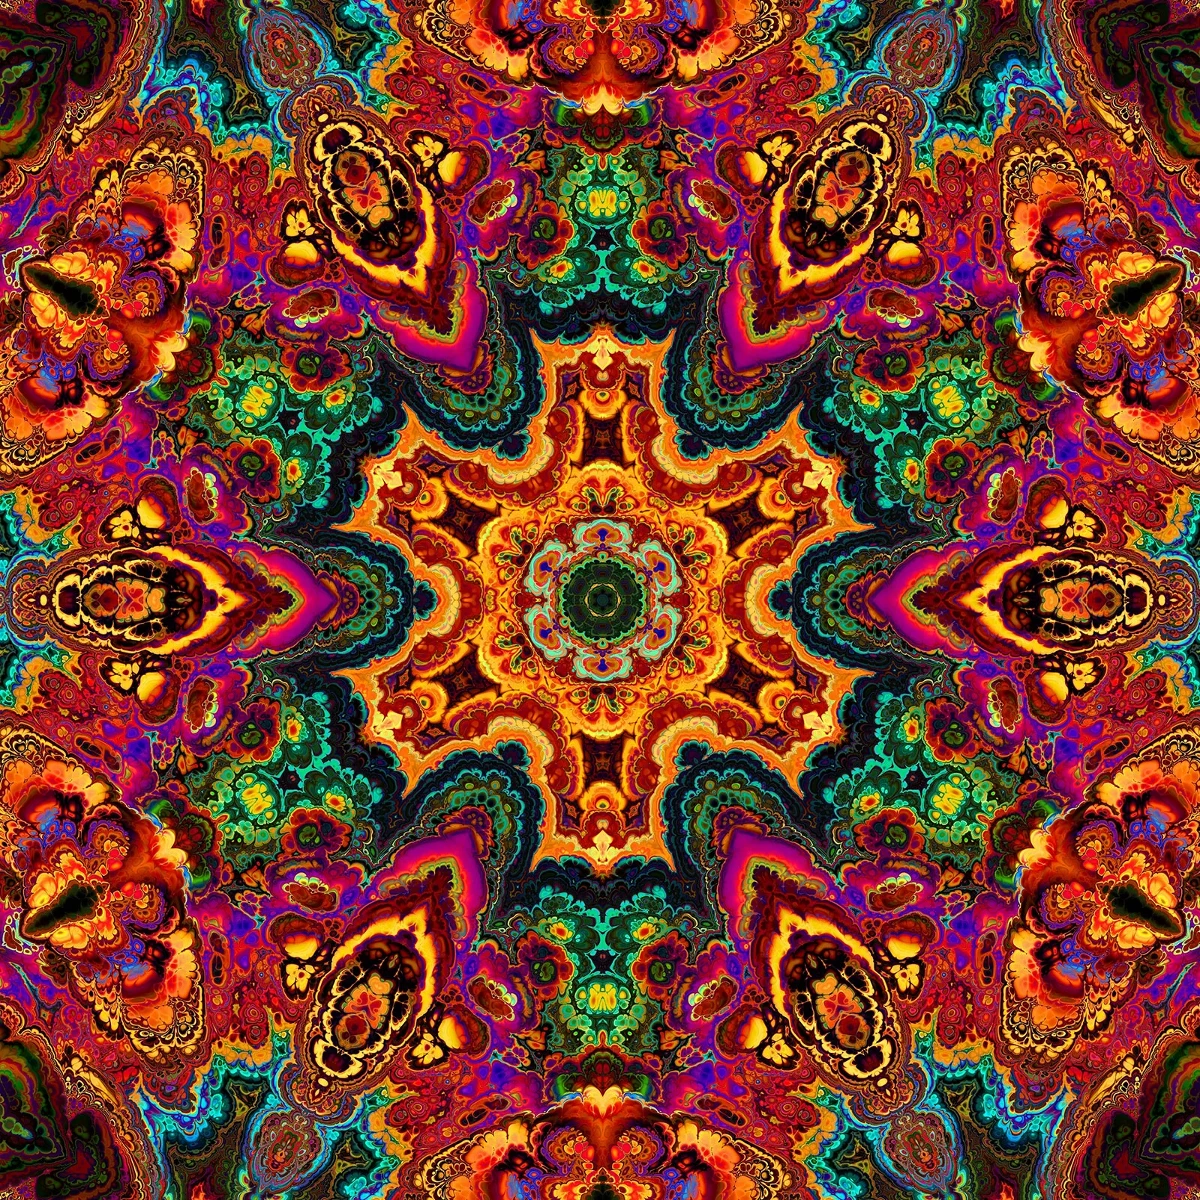
了解更多万花筒知识
万花筒如何运作?布儒斯特的发明及其希腊语名称、镜子如何形成图案、单元与远景万花筒,以及数字万花筒滤镜。
准备好尝试了吗?
在浏览器中打开 PictorX — 无需安装,无需信用卡即可启动。
前往编辑器